Starting Up in macOS Recovery on an Intel Mac
macOS Recovery is available in OS X 10.7 (Lion) and newer. To start up from macOS Recovery on an Intel Mac, follow these steps:
1) Turn on or restart your Intel Mac and immediately press and hold down the Command key and the R key (Command-R).
Press and hold these keys until the Apple logo appears. After the Recovery System finishes starting up, you should see a desktop with an macOS menu bar and a “macOS Utilities” window. Note: If you see a login window or your own desktop and icons, it’s possible that you didn’t hold Command-R early enough. Shut Down and try again.
2) Insert the DiskWarrior Recovery flash drive directly into a USB port on your Mac.
Do not use a USB port on a hub, external monitor or keyboard. Note: Some USB-C adapters are not suited for startup from data storage devices.
3) Choose Terminal from the Utilities menu.
4) When the Terminal window is displayed, type /Volumes/DW/go and press the Return key.
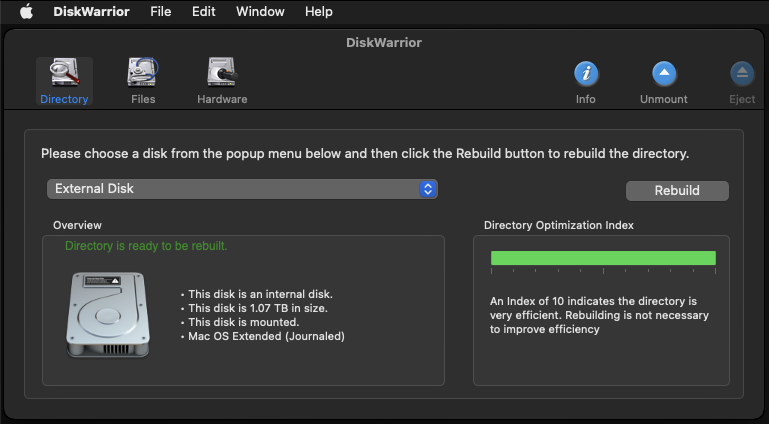
5) Once DiskWarrior opens you must agree to the software license and then you will see the window below.
Open the DiskWarrior manual from the Help menu for further instructions on repairing and recovering.
6) If the disk you want to repair is encrypted with FileVault 2, you'll need to unlock the disk.
When a disk is encrypted, the Mount/Unmount tool changes to an Unlock tool. Select the encrypted disk in the pop-up menu and click the Unlock tool. You'll be prompted to enter the password to unlock the disk.
Note: The “Startup Disk” of a Mac running macOS 10.13 High Sierra and later cannot be rebuilt with DiskWarrior as it is automatically pre-loaded with Apple File System (APFS).


